
As one who added the study of astronomy to my natural philosophy repertoire rather late in life, I found it a bit challenging to get the gist of just what I was looking at whenever I cast my eyes skyward (and if I’m honest, I very often still do). Not that there aren’t a number of worthy books offering guidance regarding “what is what” up there; the challenge was that I had long ago become accustomed to terrestrial observation – beginning, as one so often does, with the observation of birds and its use of field marks and other similar visual cues. However while the skills acquired in learning to identify birds have a high level of transferability to learning to identify, for example, insects, none of them really apply in any significant way in learning to identify astronomical objects.
 Fortunately, a publisher I’ve long come to hold in high regard for their production of highly accessible, activity-focused, user-friendly guides to outdoor pursuits – Adventure Publications – has a pair of books in their list that make beginning to look up and understand what one is seeing easy and enjoyable.
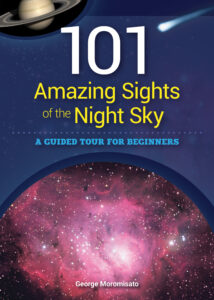
George Moromisato’s 101 Amazing Sights of the Night Sky offers an easy to follow tour of the most popular astronomical objects to observe. Beginning with the most commonly in-demand planet to see, Saturn, in a list of Top Sights, then leading through a list of Great Sights that includes the Crab Nebula (Messier 1), Betelgeuse (don’t say it three times unless you mean it), and (no giggling now…) Uranus, the book concludes with Other Sights that encompasses a number of Messier objects, visual phenomena, and the difficult-to-see – but well worth the effort when you do – planet Neptune. And for those who, such as yours truly, find the use of flash cards to be productive of more rapidly learning new information, Adventure also offers a deck of dual purpose flash / playing cards for both edification as well as recreation when the night sky is beshrouded by clouds.
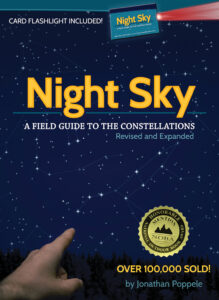 For those who complete the above described tour of 101 astronomical sights, or who simply wish to jump into the pool at a slightly greater depth, Night Sky; A Field Guide to the Constellations by Jonathan Poppele provides a wealth of interesting and useful information that is a bit more expansive in focus. Now revised and expanded from its original edition, this handy guidebook begins with a presentation of a number of the core concepts needed for effective astronomical observation, and then presents the reader with a selection of interesting constellations to observe that have been carefully grouped by the seasons in which they are most easily seen in the latitudes of the continental United States. Within each of these season-focused sections, the objects to observe are sub-categorized into levels of respective difficulty in seeing them diring those respective seasons. And to make it a bit more expansive in reach – perhaps for those who might be travelling a bit farther south – a selection of prime southern sky sights is also included at the book’s conclusions.
Of course, if you are new to astronomy, you’ll be fine beginning with the unaided eye for your observations; however in a short time you’ll likely discover that you’d like the ability to see the objects being presented to you in these books a bit more closely. For that, of course, you’ll need an optical instrument.
While most any binocular or spotting scope will give you a magnified view of the moon and the closer planets, moving farther out into space requires something a bit more designed-for-purpose. The good news is that such instruments need not be expensive – one of the best all-purpose astronomy binoculars of which I know is easily acquired for under $50, and one of the most innovative telescopes introduced in the past decade for less than $200.
While some might initially be of the mistaken opinion that a binocular is not a sufficiently strong optical instrument for astronomy, for beginners binoculars are a better instrument with which to start than a telescope is as the lower magnification and the much wider field of view of a suitable binocular allows more of the sky to be seen at once while also enabling a more enhanced view of the objects observed. Indeed, most experienced astronomers continue to use a binocular during their observing sessions in order to get a better overall look at an area of the sky to be observed before moving to their telescopes for a much more stongly magnified view. Binoculars are also superb for viewing such astronomical events as meteor showers.
The classic – and for good reason – binocular configuration to use for general astronomy, and the type of binocular with which every beginner should start, is a 7x50mm Porro prism model. The 7x magnification offers just enough magnification to enlarge a wide range of astronomical objects sufficiently to provide an enjoyable view of them, and the 50mm objective diameter, when combined with the 7x magnification, provides an exit pupil (the little circle of light you see in the eyepiece that is what carries the image to your eye when in use) of 7mm in diameter to enable a large amount of light to transit the optical path of the instrument – an essential feature of any binocular you’ll be using primarily in the dark of night.
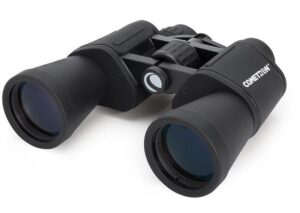 For those seeking a binocular for all-around astronomical use, I always recommend the Cometron 7x50mm Porro binocular from Celestron. It provides all the essential features needed in a beginning astronomical binocular, and at generally at under $50 in the shops, it’s well within most everyone’s price range. I’ve long had a Cometron 7x50mm in my astronomy kit, and it gets very regular use indeed. Recently, I’ve also added another binocular to my instrument collection as well: the SkyMaster DX 8x56mm Porro. Only slightly higher in magnification, and with a larger objective diameter to compensate for this and still provide that 7mm exit pupil diameter that makes it so well suited for night time observations, the SkyMaster DX offers a higher level of optical coatings and a number of other features I enjoy having, such as being waterproof for those times when I may want to employ it for uses other than astronomy.
As for telescopes well-suited for beginners, there are a wide variety from which a choice can be made; however given the recent introduction of Celestron’s new StarSense Explorer line, unless you’re absolutlely, positively, unalterably limited to spending less than $150, you really can’t go wrong with one of these new smartphone app-enabled instruments.
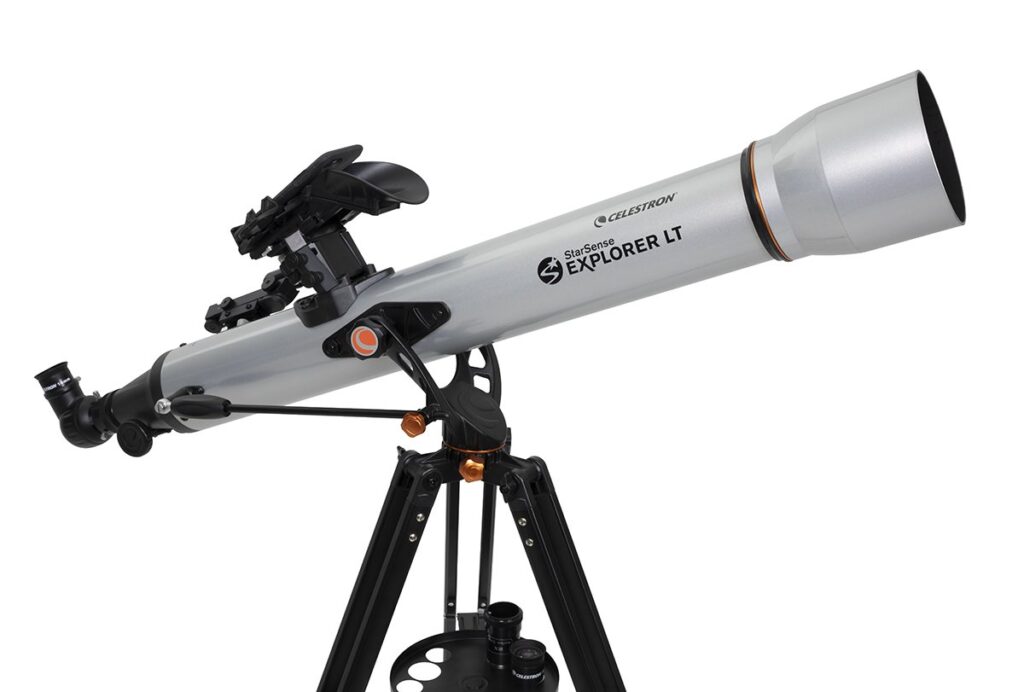
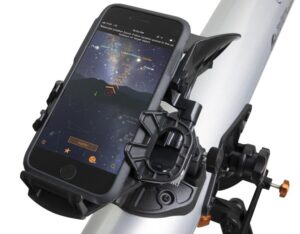
I personally own a StarSense Explorer DX 102AZ model, however for those seeking something below $200, the just slightly smaller LT 80AZ is an excellent choice indeed, particularly for those beginning their observational activities. It is sold complete with a full-size Alt-Azimuth (AZ) tripod for easily controlling the instrument while observing, two eyepieces (25mm and 10mm, providing 36x and 90x magnification respectively when used with this telescope), a red dot Starpointer finder scope, and the pièce de résistance of the entire StarSense Explorer line: the StarSense Smartphone Dock.
 When I first heard about this new telescopescope design that would tell you where to point the instrument via an app on your smartphone, I was admittedly a bit skeptical. I’ve long kept a star map app on my mobile phone for helping me to find difficult-to-identify objects in the night sky, and I know they work very well and can be paired with high-end telescopes for automatic location and tracking; however I also know that they are fairly complex and can be a bit tricky for beginners to use. So when I was told that the StarSense Explorer app and interface with the StarSense Explorer telescope was very easy even for beginners to use, required no signal tethering and only minimal set-up, and was available at a price well within reach of even a cautious novice observer’s budget, I had to see it for myself.
Friends, everything I heard about it was absolutely true. In fact, it is even easier to use than I expected. Simply download the app onto your smartphone, pop it into the dock on the telescope, and follow the simple visual step-by-step instructions to enable the app to locate itself on the planet. The rest is as simple as selecting what you want to see from a list generated in the app based on your location at that time and following the directional arrows shown on the screen directing you where to point the scope. There is even a bulls-eye to show you when the telescope is pointed at the correct location in the sky to see the object. It’s really just that simple.
With so many people having been “sheltering-in-place,” “staying-at-home,” or whatever it’s called where you live, over the past few months, many have been asking me to recommend telescopes they can use with their families, and I’ve recommended this StarSense Explorer telescope to each and every one. With things not looking to be improving regarding the present plague any time soon (particularly if you’re in the United States), many people are still seeking new activities they can pursue alone, with their families at home, or in a sufficiently physically distanced manner to stay safe and healthy. To that end, there are few activities better suited to the clear skies of summer than star-gazing, and I hope what I’ve presented here provides my readers with the information they need to begin – or perhaps resume – a practice of amateur astronomy that will continue long into their lives.